We watch a lot of Nerdy Nummies in this household. A LOT. It’s just so fun to see Rosanna Pansino create all of these magically geeky foods. Last year she took her game to the next level by revealing she had a bakeware line coming out from Wilton. I was definitely excited; my mom did cake decorating when I was growing up and Wilton was a staple in our household.
I now own quite a few pieces from this line and continue to add on to my collection over time. Today I am showing you how easy it is to use her 8-bit lollipop mold and her flavored candy melts to create fun nerdy treats.
NOTE: Yes, I am aware that some of these are 16-bit hearts 🙂 It’s just easier to say 8-bit lollipops instead of both. They are still equally considered to be retro these days anyway….sigh. I feel old.
Note: This post contains affiliate links, which means I will make a commission (at no cost to you) if you buy through this link. See my Disclosure Policy for more details.
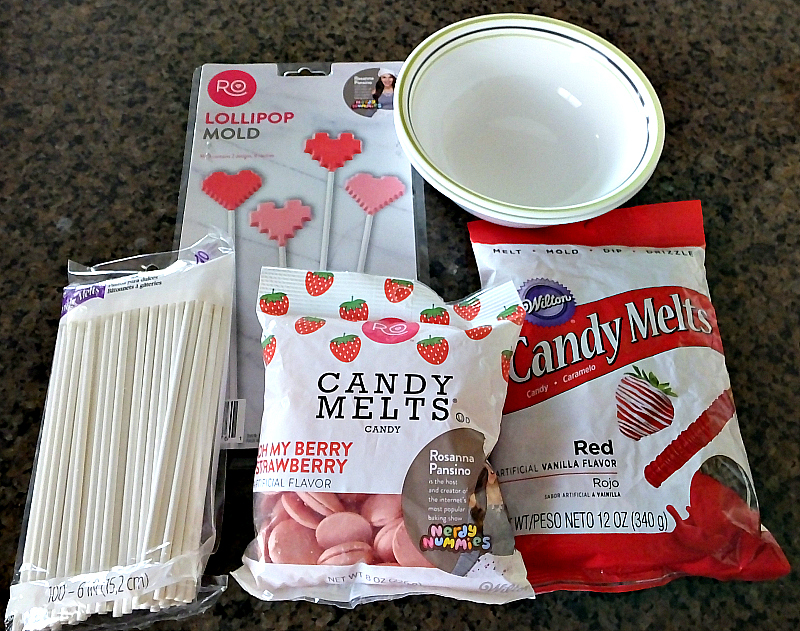
- Nerdy Nummies Lollipop Mold
- Wilton Red Candy Melts
- Wilton Pink Candy Melts
- Wilton 4″ Lollipop Sticks (Note: Pictured are 6″. They were too long. Save yourself some trouble and get 4″ instead)
- 2 Microwave-safe Bowls
- 2 Spoons
- Plastic Bags
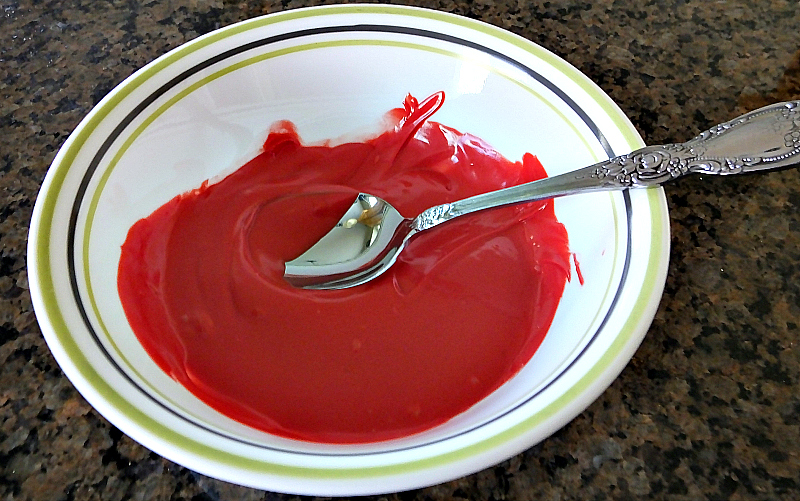
Once you have gathered all of your supplies, start by putting the candy melts into your bowls. Do one color at a time. Start off by setting your microwave to half power or the defrost setting and one minute, then cook.
Take the bowl out and check to see if they are liquid yet. It’s highly unlikely at this stage, but you never know 🙂 Continue to cook on the same power settings in 30-second intervals to help avoid scorching or otherwise overcooking the melts. Stir as you go to monitor the consistency; it’s ready once it is smooth and liquid.
Pin this now so you can find it later!
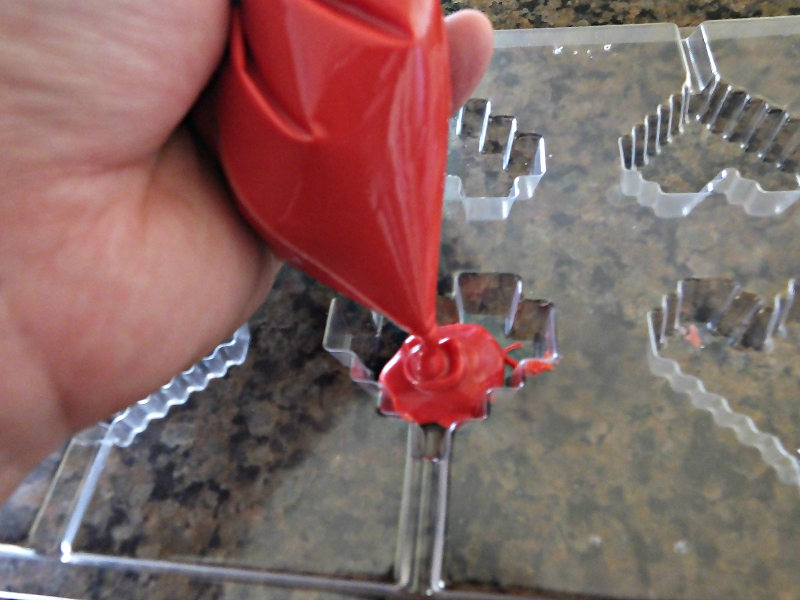
Spoon the melted candy into a plastic zippered bag. Snip a little off one corner to use as a piping bag. Fill up the mold about halfway.
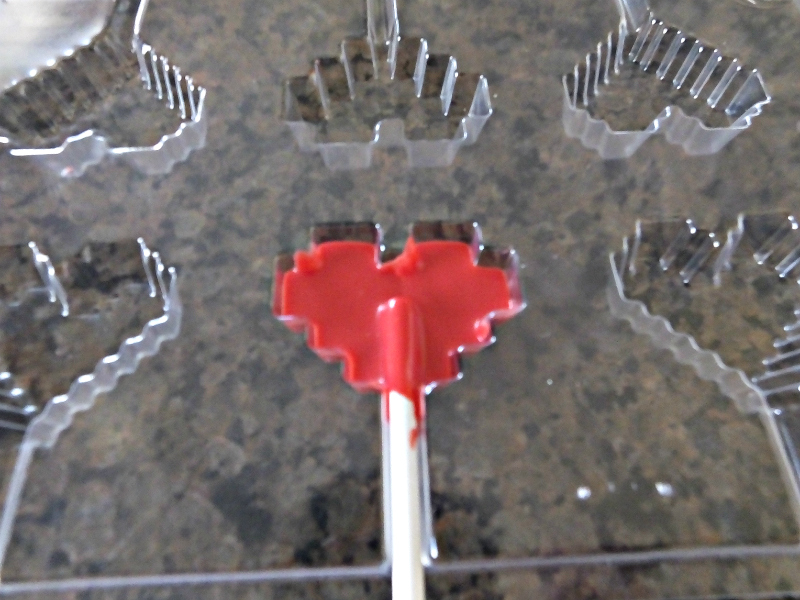
Place the sticks in the groove on the mold. Note: I started by using 6″ sticks on a lark. Seems like it would be more like a wand at that point, right? Sounded fun. You can do it, but you would have to prop up each stick to keep it level until it hardens. 4″ sticks will work just fine.
Twirl it around so that candy covers the stick end. Fill the rest of the mold until it is even with the edge.
3: Chill, Then Remove From the Mold
Place in a freezer (making sure it’s flat) for about 5 minutes. Check to see if it is hardened before you try to remove it. Gently pull it away from the mold and ta-da! You now have 8-bit lollipops, along with some 16-bit ones too. Time to enjoy!
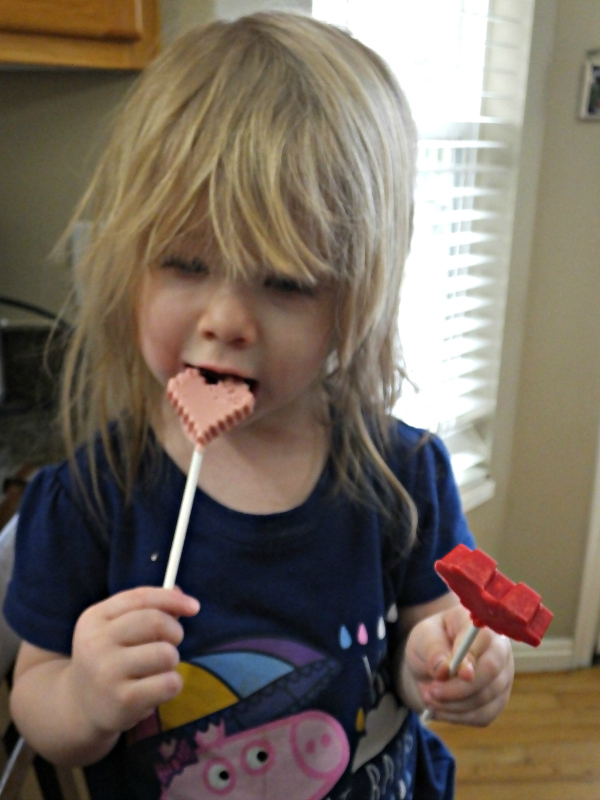
Who would you give these lollipops? Tell me below in a comment!
Please do pin this to help share retro joy with everyone!






My kids would love these lollipops. Great job. It’s fun.
Thanks so much, we should make them soon.