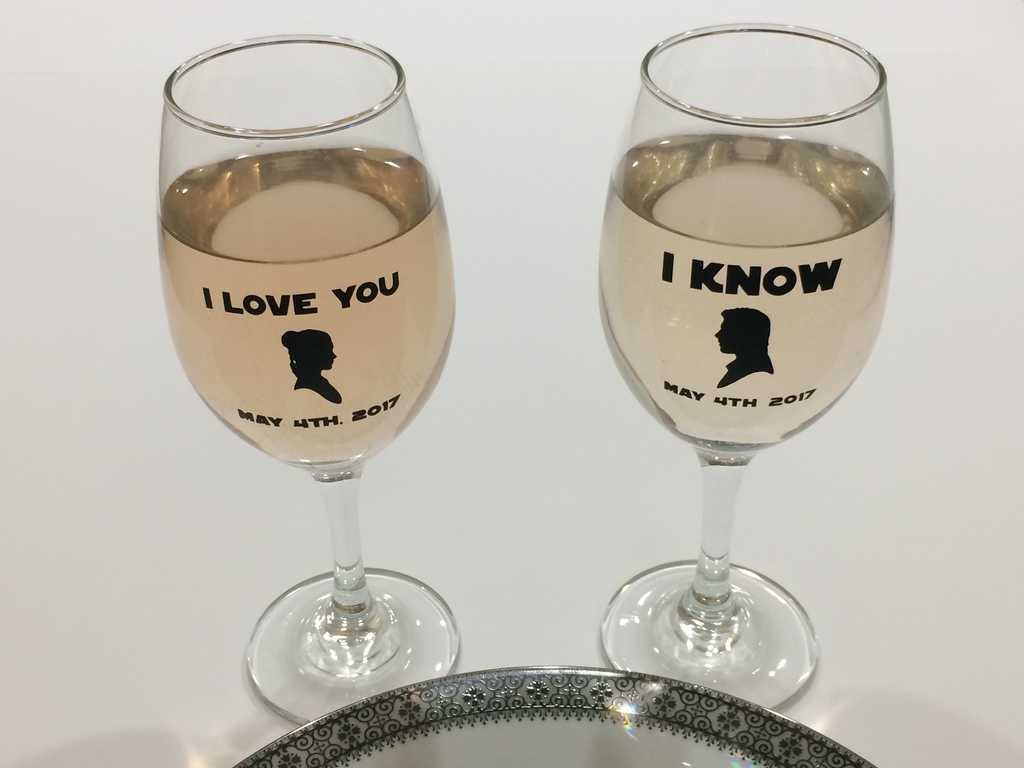
Do you dream of nuptials in a galaxy far, far away? Vow to keep each other warm inside Tauntauns on Hoth if needed? Make your special day even geekier with these Star Wars wedding glasses.
Materials Needed:
This site uses affiliate links. See my Disclosure policy
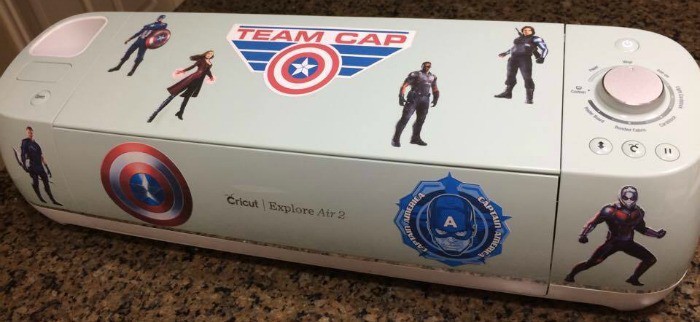
- Cricut cutting machine (I have the Cricut Explore Air 2; you will need one that can use uploaded images)
- Vinyl (if you use outdoor vinyl, it will last longer)
- Toasting glasses (these were from Dollar Tree)
- Cutting mat
- Weeding tool
- Scraper
- Transfer paper
Grab Your Images and Text
I managed to find a lovely .png file of Han and Leia silhouettes over at Doodlecraft, then separated them out in Paint so that I could work with them for each goblet. You can right click on these to download them for your project, as well as the text below.

For the words, I used a free Star Wars font called SF Distant Galaxy. You can download it for general use in your projects. I simply visited this font meme generator and right clicked to save the phrases and date that I generated.
Set the Canvas to Goblets in Cricut Design Space
One thing that I love about using the Cricut Design Space is that is fairly easy overall to use the software. If you go to Set Canvas, there are a plethora of different options for possible projects that can help you size yours right.
I chose Goblets and sure enough, it popped up a scaled canvas that had a goblet-shaped work area on it. In the Canvas tab to the right of the work screen, choose between water goblets, sparkling wine, cocktail, and champagne to make sure that you get the exact shape needed.
Design Your Star Wars Wedding Glasses
In this case, the general steps are:
- Upload all of your images and the text. As you are uploading, click to erase sections that you want to be cut out. For example, you will need to click on that small space inside that little loop of Leia’s hair to make sure that the machine knows to cut it out.
- Resize as needed. Click on each image and drag the double arrow on the bottom right to resize to scale. If you want to do a custom resize, click on the padlock so you can have more control.
- Arrange them within the canvas. Move them around until you get them centered and spaced properly to fit on the goblet.
- Group and weld together. This will make sure that they are considered as one image and print just as you need them to be. Hold down the CTRL button and click on each image or text box. Choose Group, then Weld.
It’s Printing Time!
Set the vinyl backing against the cutting mat. Choose Go and follow the instructions on the screen to load the mat and start cutting.
Weed and Prepare to Transfer Your Design
Remove the extra bits of vinyl that you don’t need. Remove the backing on a piece of transfer paper that is slightly bigger than the image. I like ones with grids on it to help you position it. Use a scraper (starting from the middle out) to smooth out any bubbles and attach the vinyl to the transfer paper. Remove the backing of the vinyl.
Finish Your Star Wars Wedding Glasses
This is the trickiest part since it involves a curved surface. I recently learned about a neat trick to help you put vinyl on your glass in the right spot; fill halfway with water! This creates a guideline that you can use to make sure that your design is as straight as possible.
Start in the middle and slowly (SLOWLY!) smooth down outward. You may need to make small cuts in the transfer paper (avoiding the vinyl) to help you adjust it as you go. Smooth again with your scraper, then peel away the transfer paper. Ta da!
Note: You will need to handwash these.
Would you use these at your geeky wedding? Do you know someone who did? 
This is a sponsored conversation written by me on behalf of Cricut. The opinions and text are all mine.







This is so cool! (But I know I’ll mess things up xDDDDD I can give it a try though! Coz I love the idea!)
I am glad you like it 🙂 The water idea really seemed to make it easier, along with the grid transfer paper. I mess up things all the time before I get them good enough to go on here 🙂 It’s how we learn. Good luck 🙂
These are adorable! Now I just need a Crichton machine…
I absolutely love mine. So easy to make lots of fun geeky things.