I was so excited when I saw that there were Marvel images available in Cricut Design Space as part of my Cricut Access account. I knew I HAD to use them somehow. Down the line, I will be making projects using the Guardians of the Galaxy Kawaii cartridge (so adorable!) but for my first project, I will be decorating up my Cricut machine to have an Avengers theme.
There are plenty of possibilities to make your favorite Marvel decals! The beauty of these is that you can customize them to whatever size you want and only print the ones you choose. Since this is made with printable vinyl, it’s easier to remove down the road.
We are on Team Cap in this household. When we met Chris Evans (squee!) at Salt Lake Comic Con, we had him sign our comic for and he drew a mustache and horns on Iron Man. Perfect!

This site uses affiliate links, which means I may make a commission at no cost to you if you purchase through the link. See my Disclosure policy. I also work on Cricut’s blog.
I decided to proclaim my devotion to Team Cap by decorating up my Cricut machine. You could also use these Marvel decals on so many other items, of course.
Materials Needed:
- Cricut Explore Air 2 Machine
- Cricut Printable Vinyl
- Transfer Tape
- Scraper
1: Choose Your Images
Click on images in Cricut Design Space, then search for the word Marvel. Switch over to Cartridges and you will find the Team Captain cartridge. As long as you have a subscription, they should say granted and allow access. Otherwise, you can buy access to the images. Choose the images that you want to use.
If you are on Team Stark (what are you thinking?? Just kidding!), there’s a separate cartridge for that, too. Other cartridges have more images if you want a different look.
2: Resize the Images as Desired
Separate out the images to see the different shapes and sizes. I was satisfied with the sizes, so I left them as they were. You can click on one and resize using the button on bottom right of the image if you choose.
3: Print Out the Images
Click on Make It, then Continue. You will come to a screen where you can send the images over to your printer. Follow the instructions to do a rear feed on your printer unless the trays can naturally accept vinyl sheets.
4. Cut Out the Images

Press continue and follow the instructions on your screen. Set your dial to Vinyl, press the Feed button when prompted, then Go! The sensor will determine where the cut marks should be by scanning the black bar around the images.
5. Weed Out the Extra Vinyl

Carefully remove the excess from around each image. It found that it is easier if you cut them apart. Gently push at the edge to get it started and move slowly…there are some really small spaces on these heroes and you don’t want to, say, tear off an arm by accident (Sorry Bucky! I didn’t mean to do it…)
6. Apply Transfer Tape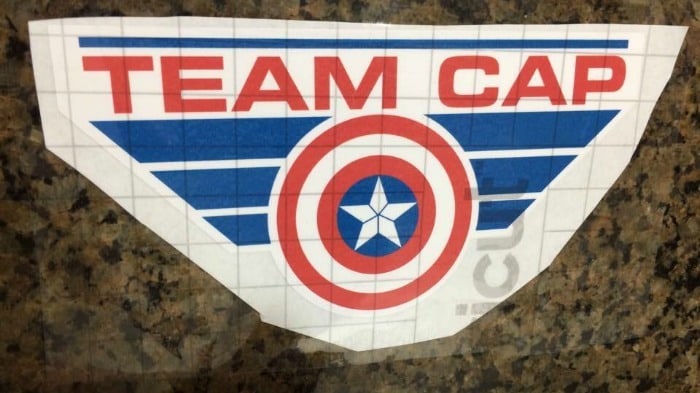
Cut squares out and remove the backing on the transfer tape. Stick it on top of one of the images and use the scraper to smooth it out, starting from the middle and moving outward. Remove the backing on the images.
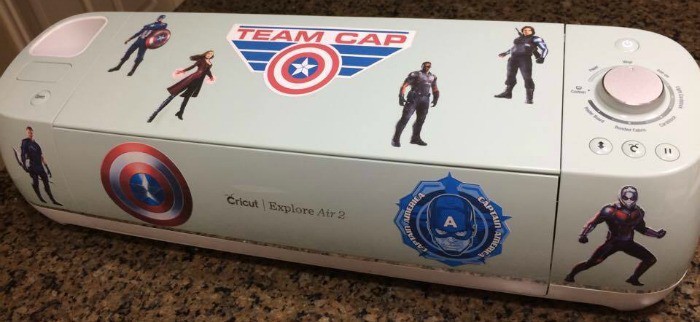
7. Place the Images on Your Cricut Machine
Now you get to have fun placing them on your machine. I decided that I wanted Team Cap to be on the top lid, surrounded by the characters. The other two decals went on the front. Place your image on the machine, use the scraper to firmly attach, then peel the tape away. You can reuse the tape until it no longer sticks.
Ta Da! Now I have even more geekery in my household. Isn’t it so much fun?
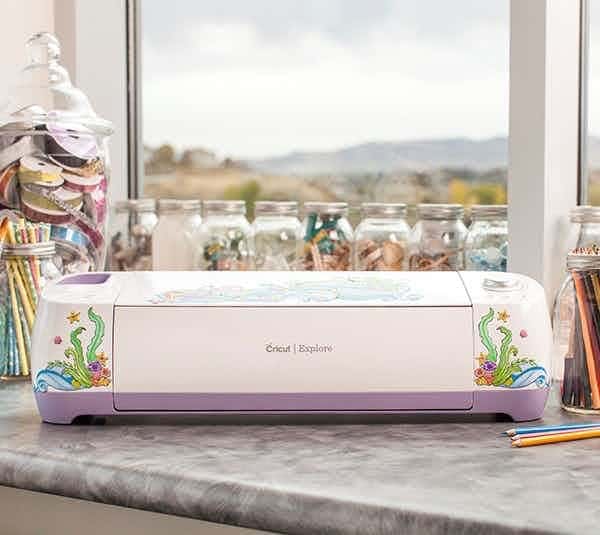
If you want to decorate your machine in a more “traditional” fashion, there are some Make It Now projects in Design Space that you can use. I originally was thinking of using this Under the Sea Explore Decor:
There is also a Make It Now project where you can make your own Marvel Masks:

This is a sponsored conversation written by me on behalf of Cricut. The opinions and text are all mine.
 Avengers:Infinity War Gift Pack Giveaway")