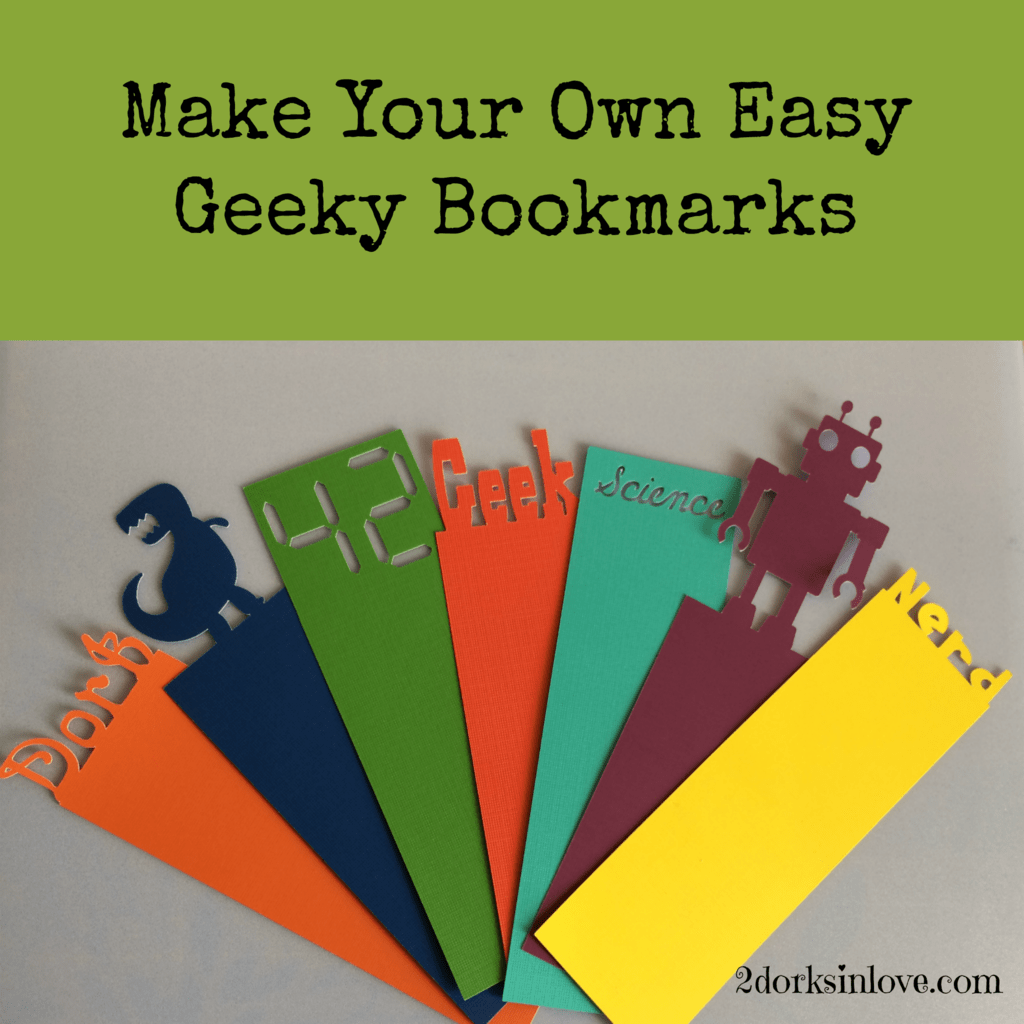
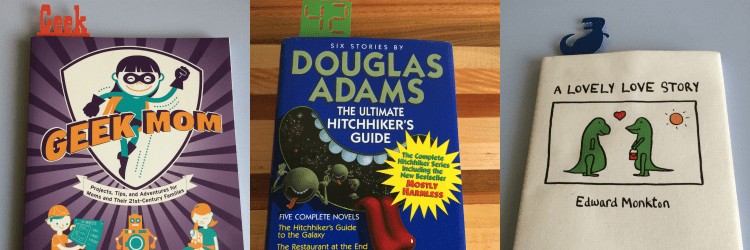
Did you know that it’s quite easy to slip little geeky references into your life? Take, for example, these geeky bookmarks. You only need three different items to make them and it’s easy to create custom ones. Never lose your place again in your favorite book by making one today!

This site uses affiliate links. See my Disclosure Policy for details.
NOTE: If you would like to make some of these displayed bookmarks, you can access my design on Cricut Design Space and customize them to your liking.

Materials Needed
- Cricut Explore Air machine – I have the Explore Air 2
- Cutting mat – I used Light Grip for this project
- Cardstock – I like this double sided cardstock since you get more color choices and adds interest
Step 1: Design Your Geeky Bookmarks Toppers
Open up the Cricut Design Space and start choosing the images that you would like to use. You can also insert words like geek, dork, nerd, and so on, then choose a fun font to make it stand out. If you want something specific, upload it to the Design Space.
Make sure that you use an image that will show all parts of the image; if you were to try to cut out an atom, for example, the nucleus would be missing since it is not connected to anything else.
Are you a Star Wars fan? Show off your allegiance to the Galactic Empire or the Rebel Alliance by adding the appropriate symbol. Trekkies can do the Vulcan Salute or Star Trek Insignia. There are so many possibilities available!

Step 2: Add the Bookmark Shape
In most cases, a rectangle will work best for your bookmark. Make one by choosing Insert Shapes, then the square. Click on the lock to allow you to stretch it into a rectangle.
Another good possibility would be an oval; you can make it in the same way by unlocking, then stretching it downward. Other shapes may work, but make sure you have enough edges on top to provide a secure spot to attach your topper.
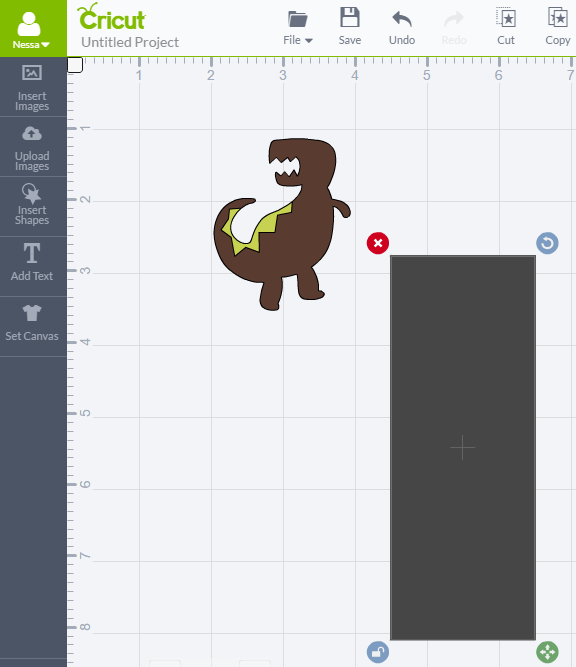
Step 3: Weld Both Images Together
These geeky bookmarks are a great way to practice using the Weld function on your Cricut machine. Start by clicking on Edit for each topper and shape, then adjusting the widths so that they match.
I used a two-inch width for the ones I made; you may want them skinnier or wider for your own bookmarks. You can play around with the length depending on how you want the finished product to look.
Next, move them together so that they are aligned and touching, with enough of an overlap that the topper will be connected. Hold the CTRL button while clicking on both pieces, then choose Weld in the right menu. This will merge the two together to make one shape.
Note: Since I made each one in a different color, I didn’t need to make sure they were within the canvas, as it will know each one is on a different mat. The program will naturally put as many as can go on the same color mat, so you don’t need to worry too much about staying within the lines with this project. If you have several in
If you do have several in the same color, you can do things like rotate some to make them fit on the same paper better.
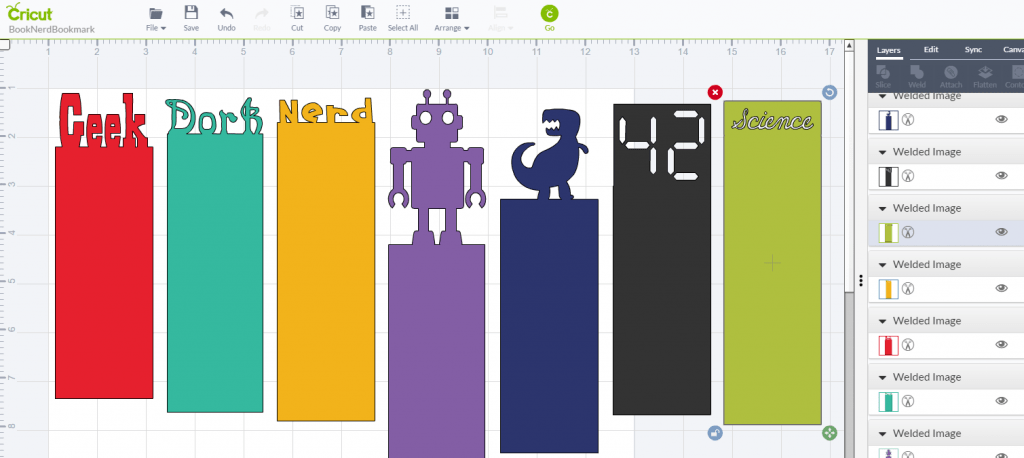
Step 4: Cut Out Your Geeky Bookmarks
Turn on your Cricut and load your first cardstock color onto the mat. Press Go in the Design Space and follow the instructions. When it is done, flip over the mat and peel it away from the paper; this will prevent your bookmark from curling. Repeat for any remaining colors.
Huzzah! You are now ready to save your place when you (alas) need to stop reading for a bit.

For an added little touch, make ones that match the book that you are currently reading.
What would you put on top of your geeky bookmarks? Send me a picture if you make some!
![]()








They definitely turn out super nice! I’m not on the crafty side personally.
Thanks so much! My aim here is to do a lot of “easy” crafts so even if you don’t feel like Martha Stewart, you can do the ones I put on here 🙂
I love making my own bookmarks, and I probably have too much of them since I spend more time deciding which bookmark to use than which book to read. These turned out so good though, I guess I’ll have to try!
Thanks. What are you reading now? I want to make more bookmarks soon 😀