
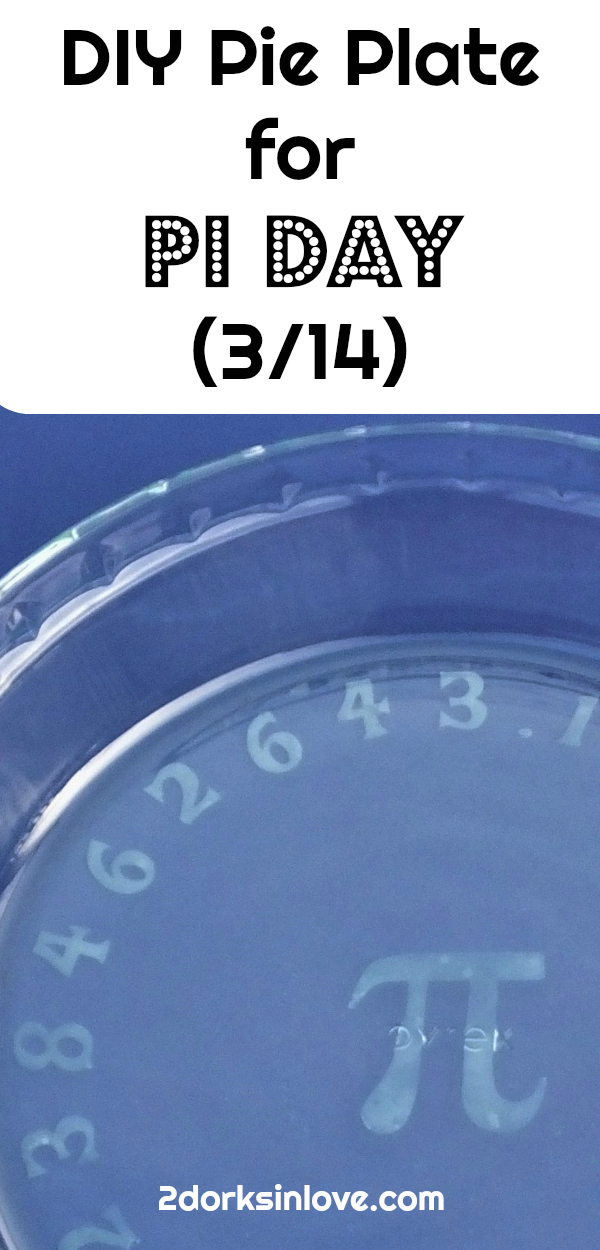
If you are into celebrating geeky holidays, there are quite a few. One of the most famous is Pi Day, which is celebrated on March 14th (get it…3/14, ha) and features, well, pie of course! The stores around here sell out of many of their pies leading up to this day.
We usually celebrate with pizza and some sort of delectable pie. If you want to take your baking to the next level, why not make a fun Pi pie plate this year? After Pi Day is done, you can certainly use it throughout the year. They also make great gifts.

Note: This post contains affiliate links, which means I will make a commission (at no cost to you) if you buy through this link. I also happen to work for Cricut and help manage their blog. See my Disclosure Policy for more details
Supplies:
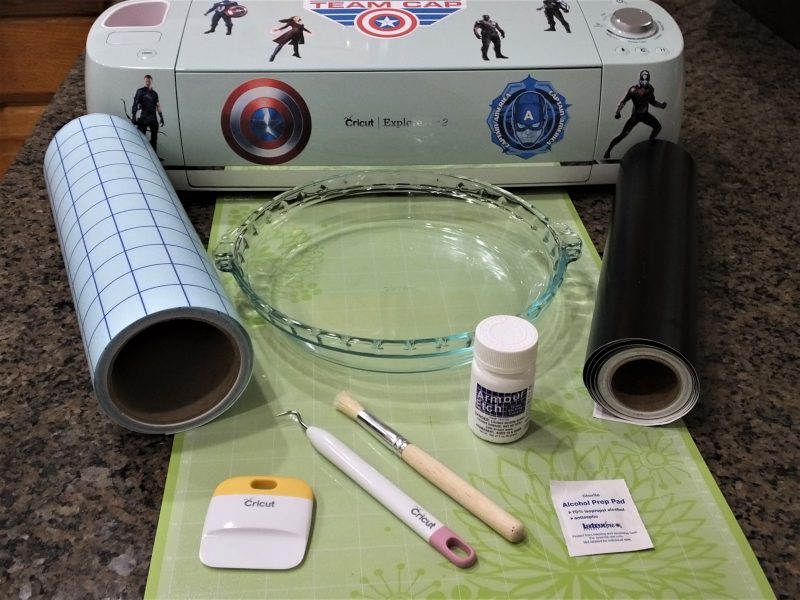
- Glass Pie Plate (I used Pyrex that I bought at Costco in 3-packs, but other brands like Anchor Hocking work well too)
- Removable Vinyl*
- Cricut Explore Series or Maker Machine (or other cutting machines)
- Transfer Tape
- Weeding Tool
- ArmourEtch Etching Cream**
- Paintbrush/Stencil Brush
- Alcohol Wipe
*Note: Cricut does sell a stencil vinyl if you want a stencil that is see-through for easier positioning. With mine, though, I was able to center using the word Pyrex, the transfer tape, and the handles, so the basic black I buy in bulk worked just fine.
**The instructions do note that it does not work on some Pyrex glass. I have not run into that problem yet, but you may want to just test a small part of the design first if you are worried or use a different brand.
1: Upload the Images


Download the images above by right-clicking (or CTRL-click on a Mac) on it, then saving. Follow the instructions in Design Space to upload the images and make sure the backgrounds are transparent on each.

If you want to make a different version of the Pi number circle, I used PicMonkey. You could use a different font or number of digits of Pi, for example. I typed in the numbers I wanted, then curved the text.
2: Create Your Stencil
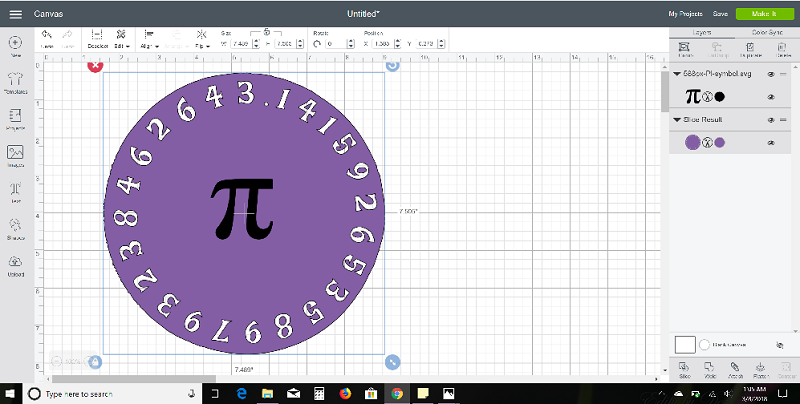
A: Click on Shapes and add a circle. Measure the bottom of your pie plate and adjust the size of the circle to match. Make it a different color than the numbers circle to help with placement.
B: Resize number circle to be about .25″ smaller than the circle (you can do more if you like) and place on top of the circle. I rotated it so the beginning 3 was at the top. Click to the upper left of the circle and drag to highlight both.
C: Click on slice and it will cut out the numbers in the circle. Remove both the original and the sliced number circle and delete.
D: Repeat B&C with the Pi symbol, placing it in the middle and size as desired. The etching cream instructions do note that results may not be as good for areas bigger than a square inch, so keep that in mind when changing the dimensions of the Pi symbol.
3: Cut and Weed

Put a piece of vinyl on your mat with the black side up. Follow the instructions in Design Space to cut out your design, clicking on Mirror to cut it out backward.
Once it has finished, remove from the mat. Weed away the numbers and the vinyl around the circle to create your stencil.
TIP: Keep a lint roller nearby and stick your little vinyl pieces to it.
4: Transfer to the Pie Plate

Remove the backing on the transfer tape and apply on top of your stencil. Use the scraper to go over your vinyl and help it adhere to the transfer tape.
Clean the bottom of your pie plate on the underside with the alcohol wipe. Wait a few seconds to let it dry. Remove the backing on the vinyl and apply to the plate. Since it was glass, I found it easier to set the vinyl on the counter and carefully line up the design where I wanted it, then place the plate firmly on top.
Turn over and use the scraper to go over the entire design and smooth out bubbles. Since this is a stencil, you don’t have to worry about those too much as long as they are not large and the vinyl around each letter has firmly adhered to the plate.
Carefully peel away the transfer tape. Watch to make sure any floating parts of numbers (like the triangle in a 4 and the circles inside the 8) stay on. If they start to lift, smooth it down again, use the scraper, then try again.
5: Etch the Glass
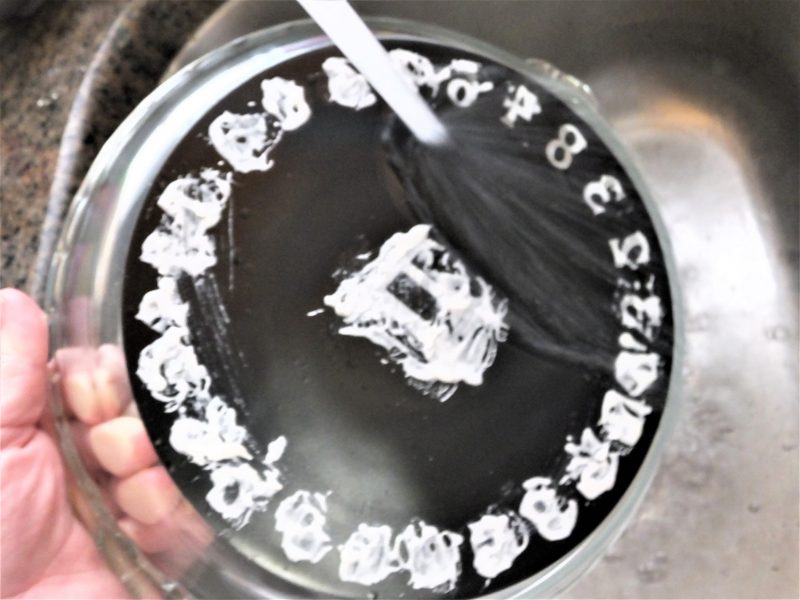
Shake the etching cream bottle before opening. Use a paint or stencil brush to quickly apply a thick layer to each letter and the Pi symbol. It starts etching right away and you want to make sure you can’t really see any of the glass through the cream.
I usually leave it at least 5-10 minutes just to be sure. When time is up, take it to a sink and rinse with warm water, keeping the plate at an angle to help the water run off and not pool, lest some etching cream start working on an area that you don’t want to be etched. You can use the paintbrush to help remove the dried cream quicker.
Once it is all washed off, I use a paper towel to dry it off, then let it sit a few minutes before removing the stencil.
6: Remove the Stencil
After it’s dry, you can peel away the stencil. I don’t try to reuse them for each plate since it would be hard to get it all off in one piece. Make sure to get the little pieces inside numbers.
Wait a day or so before you use the Pi pie plate. Since it actually etches into the surface, you can clean it in a dishwasher if you like.
What kind of pie will you be eating for Pi Day? Leave a comment below and pin to save this tutorial for later!


I will be eating Chocolate Cream Pie!!!
This is perfect! The birthday of my super geeky bf is soon, and he loves maths 😀 I’m going to print this and give it a try! 😀 Thank you! <3