
One of the most beautiful writing forms in science fiction is Circular Gallifreyan. This lovely text created by a fan of the BBC television show Doctor Who consists of circles, dots, curves and lines that can be used to translate English sentences. You can learn more about how it works from Sherman’s Planet.


If you want to make your own Circular Gallifreyan wall art, you’re in luck. With a Cricut machine and a Circular Gallifreyan generator, you can write out whatever you like! Let’s get started….
Materials Needed:
- Cricut machine (I have the Cricut Explore Air 2)
- Cricut 0.8 tip black glitter gel pen
- Cricut cutting mat
- 8.5 x 11″ TARDIS blue cardstock
- White cardstock
- Textured black cardstock
- Watercolor pattern red cardstock
- Glue stick
- 8.5 x 11″ frame
Step 1:

If you like a challenge, you could use the guide from Sherman’s planet to translate the words yourself. I find it much easier to visit one of the translators out there that will generate the picture for you. For this project, I used one that was simply called “A Gallifreyan Translator“. Enter the words that you wish to use and hit update. I decided to make this romantic and chose “I love you through space and time“.
You can use line width to make it stand out more. Do not make it too large, though, as the dots will start to run together. Click Save and it will open a new window with just the image. Right click and choose Save Image As
Step 2:
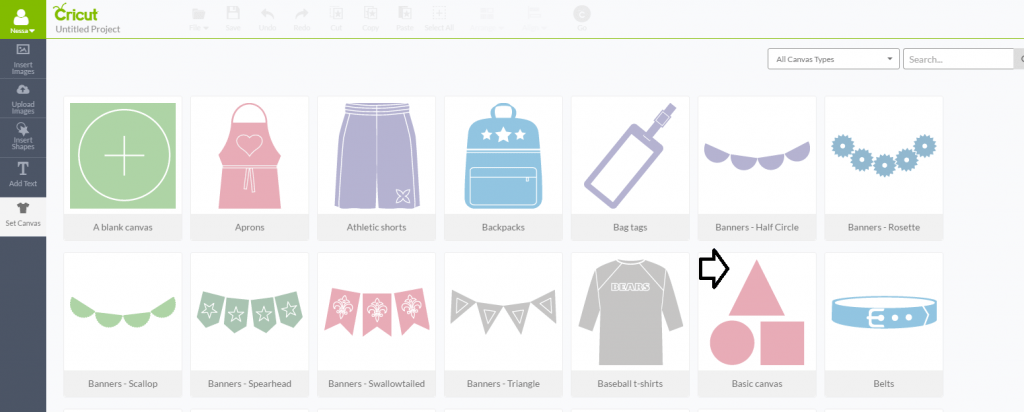
Open the Cricut Design Space, then choose File and New. Click on Set Canvas on the left and choose “Basic Canvas”. You can change the size that you want to make by clicking on Canvas on the right-hand side, then entering the size desired. I set mine at 8.5×11″.
Step 3:
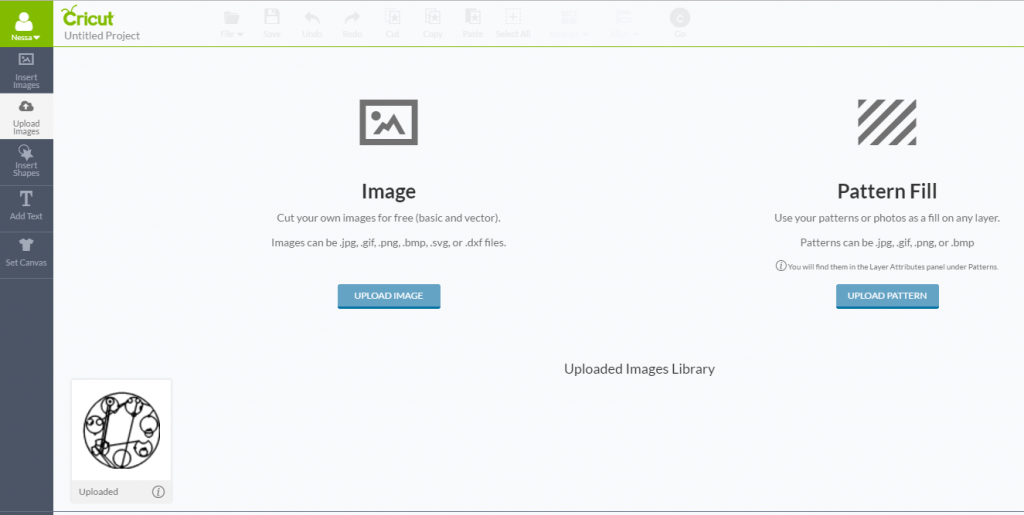
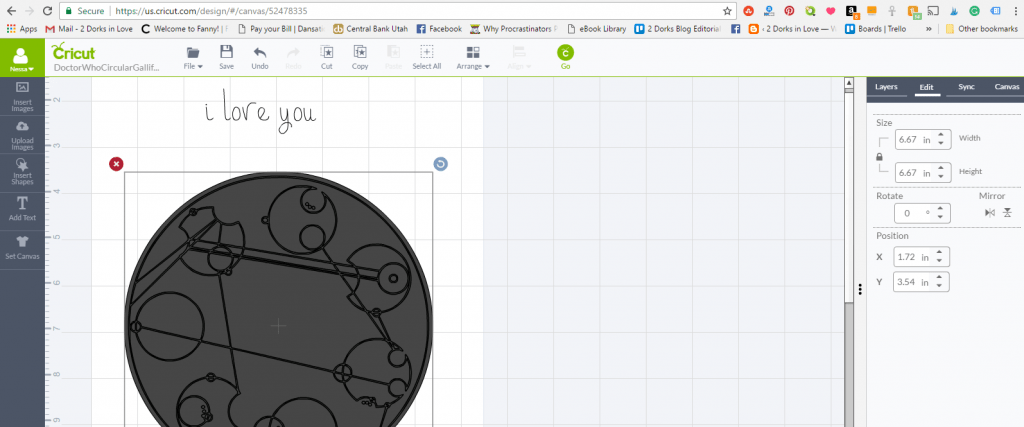
Choose upload images and add your Circular Gallifreyan image to the library. Once it has finished, click on the image and then on the green Insert Images button. This will bring it out onto your canvas. Resize to your desired dimensions. Mine was set to 6.53″; you may want to make it larger or smaller depending on how much text you will be using. In the Layers section,
In the Layers section, click on the thumbnail and choose “Write”. Pick the 0.8 tip black glitter gel pen. Click next to the pen picture to close it.
Step 4:
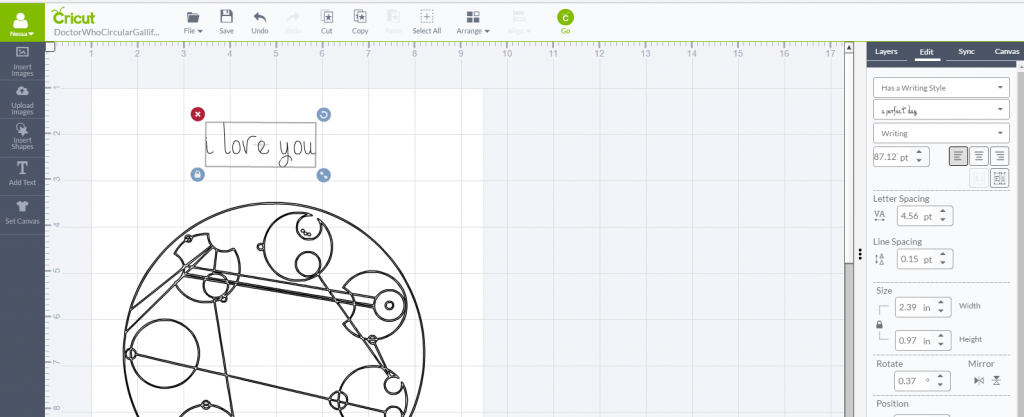
Choose Add Text and type in your word(s). On the right, you can choose different options. I wanted one that could be done with single strokes, so switched it to “Has a Writing Style”. The font used here is called “a perfect day”. Resize it as you like. Since these will be cut out, don’t worry about getting them perfectly centered here; just make sure that you leave room for the cutting and backing pieces. Repeat additional times as needed.
Step 5:
Click on Insert Shapes and choose a circle. Click “Arrange” and move to the background. Make it slightly larger than your image; this will create the cutting line. Repeat with rectangles for the text. Set these to “Cut” in the layers section.
Step 6:

Click on Select All and then Group. Choose Select All and then Attach to keep it all on one mat.
Step 7:
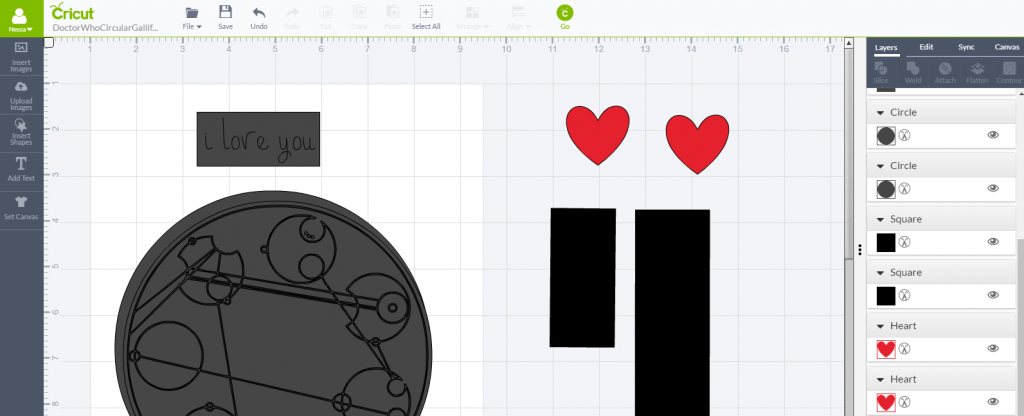
Next, I add in some shapes on the other side of the screen. I created one heart, set it as red and duplicated it. You must have two hearts; after all, that’s how many The Doctor has. Make the rectangles a bit larger than the cut text area and set them as black.
Step 8:
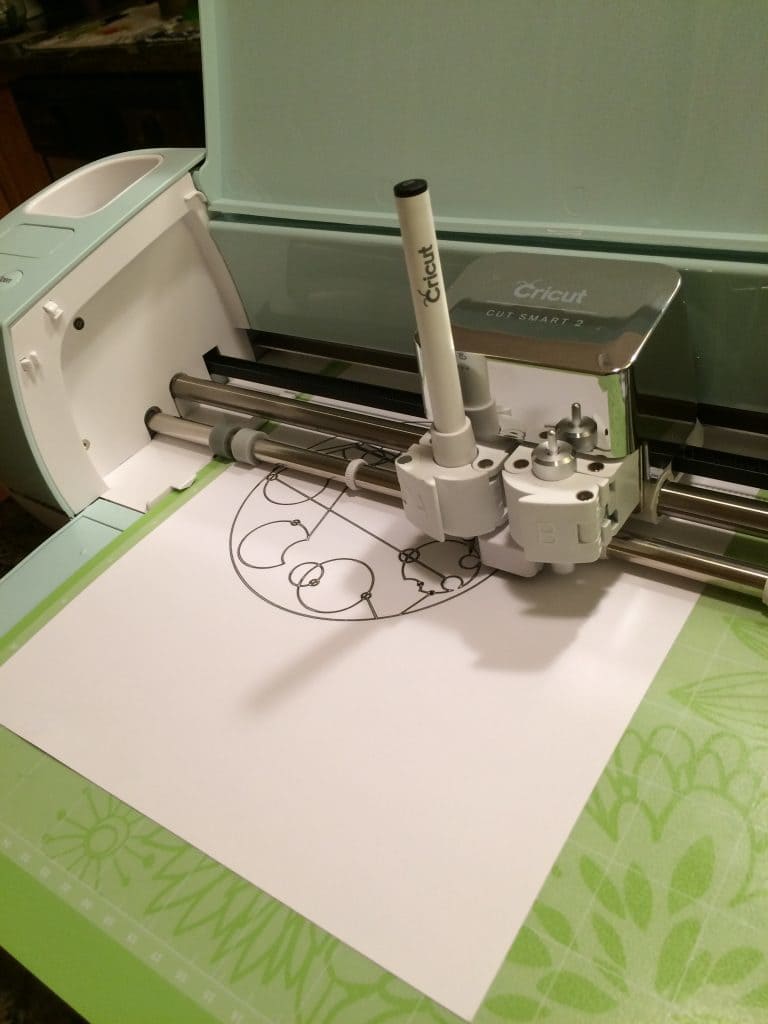
Now it’s time to get working with your machine! Click Go. It should show that you have 3 different mats to do (Gallifreyan, background rectangles, and hearts.) Set the dial to light cardstock. Position your cardstock on the cutting mat and follow the instructions to load it into the machine. Press the flashing Go button on the machine and you’re off. Follow the directions on the screen to do the additional 2 mats.

Tip: Make sure you let the ink dry before removing it from the mat. It smudges easily at first and you don’t want to mess up your design.
Step 9:
Flip the mats over and gently peel it away from your cardstock; this will help prevent your work from curling. Use a glue stick to paste the circle onto the blue cardstock. Attach the text to the black rectangles, then glue to the background. Add the hearts to the top corners. Place in a frame and hang!
What’s Next in Cricut Land for Me?
This really is a fun machine! I love how I could design it up, then just let it draw and cut it out for me while I did something else for a few minutes. I will experiment with some more Circular Gallifreyan, I think. My mom wants me to spruce up a flower pot as a housewarming gift for my grandparents. My Cricut needs some geeky decals, as does my car and, well, everything! I can add some fandom appropriate quotes for the girls’ rooms. There are so many possibilities just around the corner.
What saying would you create for some Circular Gallifreyan Wall Art?
This is a sponsored conversation written by me on behalf of Cricut. The opinions and text are all mine.