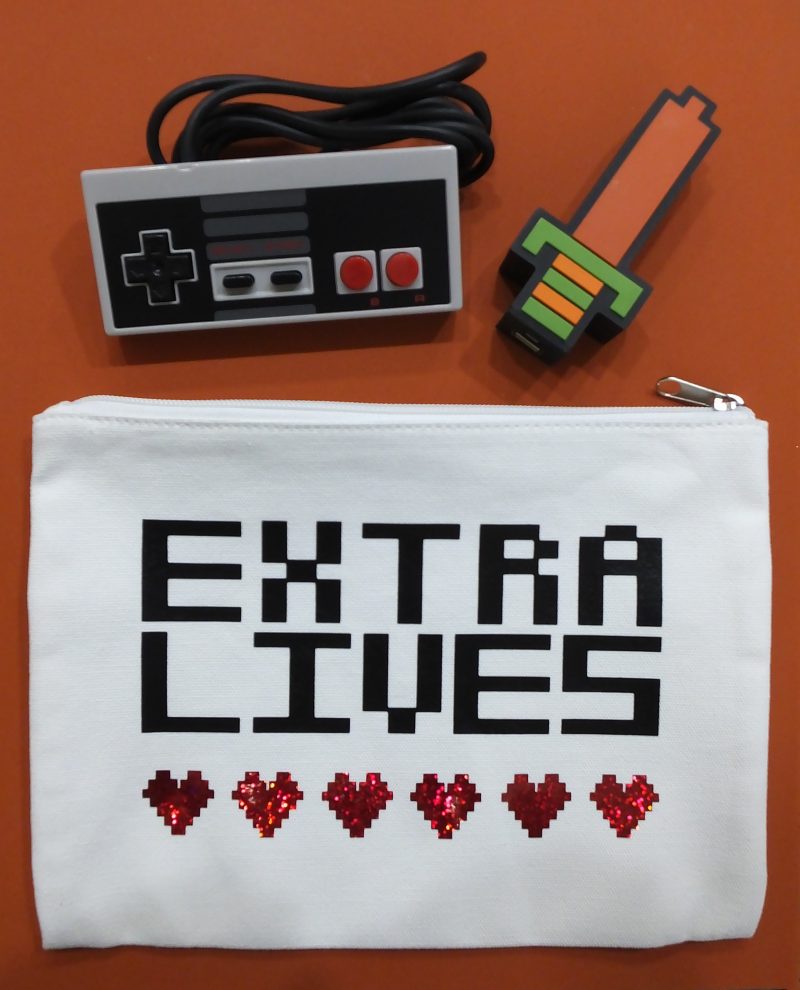
Video games have come a long way since I started playing in the 1980s, but I still am incredibly fond of anything 8-bit. I found this pouch on clearance at Michael’s and knew that I could have some geeky fun with it.
This 8-bit video game pouch is incredibly easy and quick to make. Just cut out some iron-on, add heat and tada! You can tote around your controllers, games or anything else you like in retro style.
Note: This post contains affiliate links, which means I will make a commission (at no cost to you) if you buy through this link. I also happen to work for Cricut.. See my Disclosure Policy for more details.

Supplies:
- Cricut Explore Series or Maker Machine (or other cutting machines)
- Transfer Tape
- Weeding Tool
- Iron-on Lite
- Holographic Sparkle Iron-on
- Cricut Access
- Cricut EasyPress or iron
- Silicone Ironing Pad or folded towel
- Teflon protective sheet (optional)
1: Create and Cut Your Design
 You can upload your own image or use one that is in Design Space. I stumbled upon an awesomely geeky cartridge in Cricut’s Design Space called Brooklyn Iron-on that is included as part of Cricut Access. So many fun options!
At first, I wanted to choose the “I’m Not Weird … I’m a Limited Edition” image but decided to go with a retro video games theme. The images I used are an 8-bit heart and the image that says “Extra Lives”.
TIP: I duplicated the hearts and lined them all up. Select all of them, then click on Attach. This will cut them exactly as designed. Otherwise, the machine will reorder them to conserve materials and you will lose the spacing.
Pin this now so you can find it later!
 Measure your pouch and decide how big you want the design to be. You can use the bar at the top to resize the images or use the arrow at the bottom right of the image. Follow the instructions in Design Space to cut out your designs. Since this is iron-on, you will want to mirror the design and place the shiny side (backing) down on the mat for cutting.
Once it has finished, remove from the mat and weed away the excess iron-on to get it ready for transfer.
2: Press on Your Design
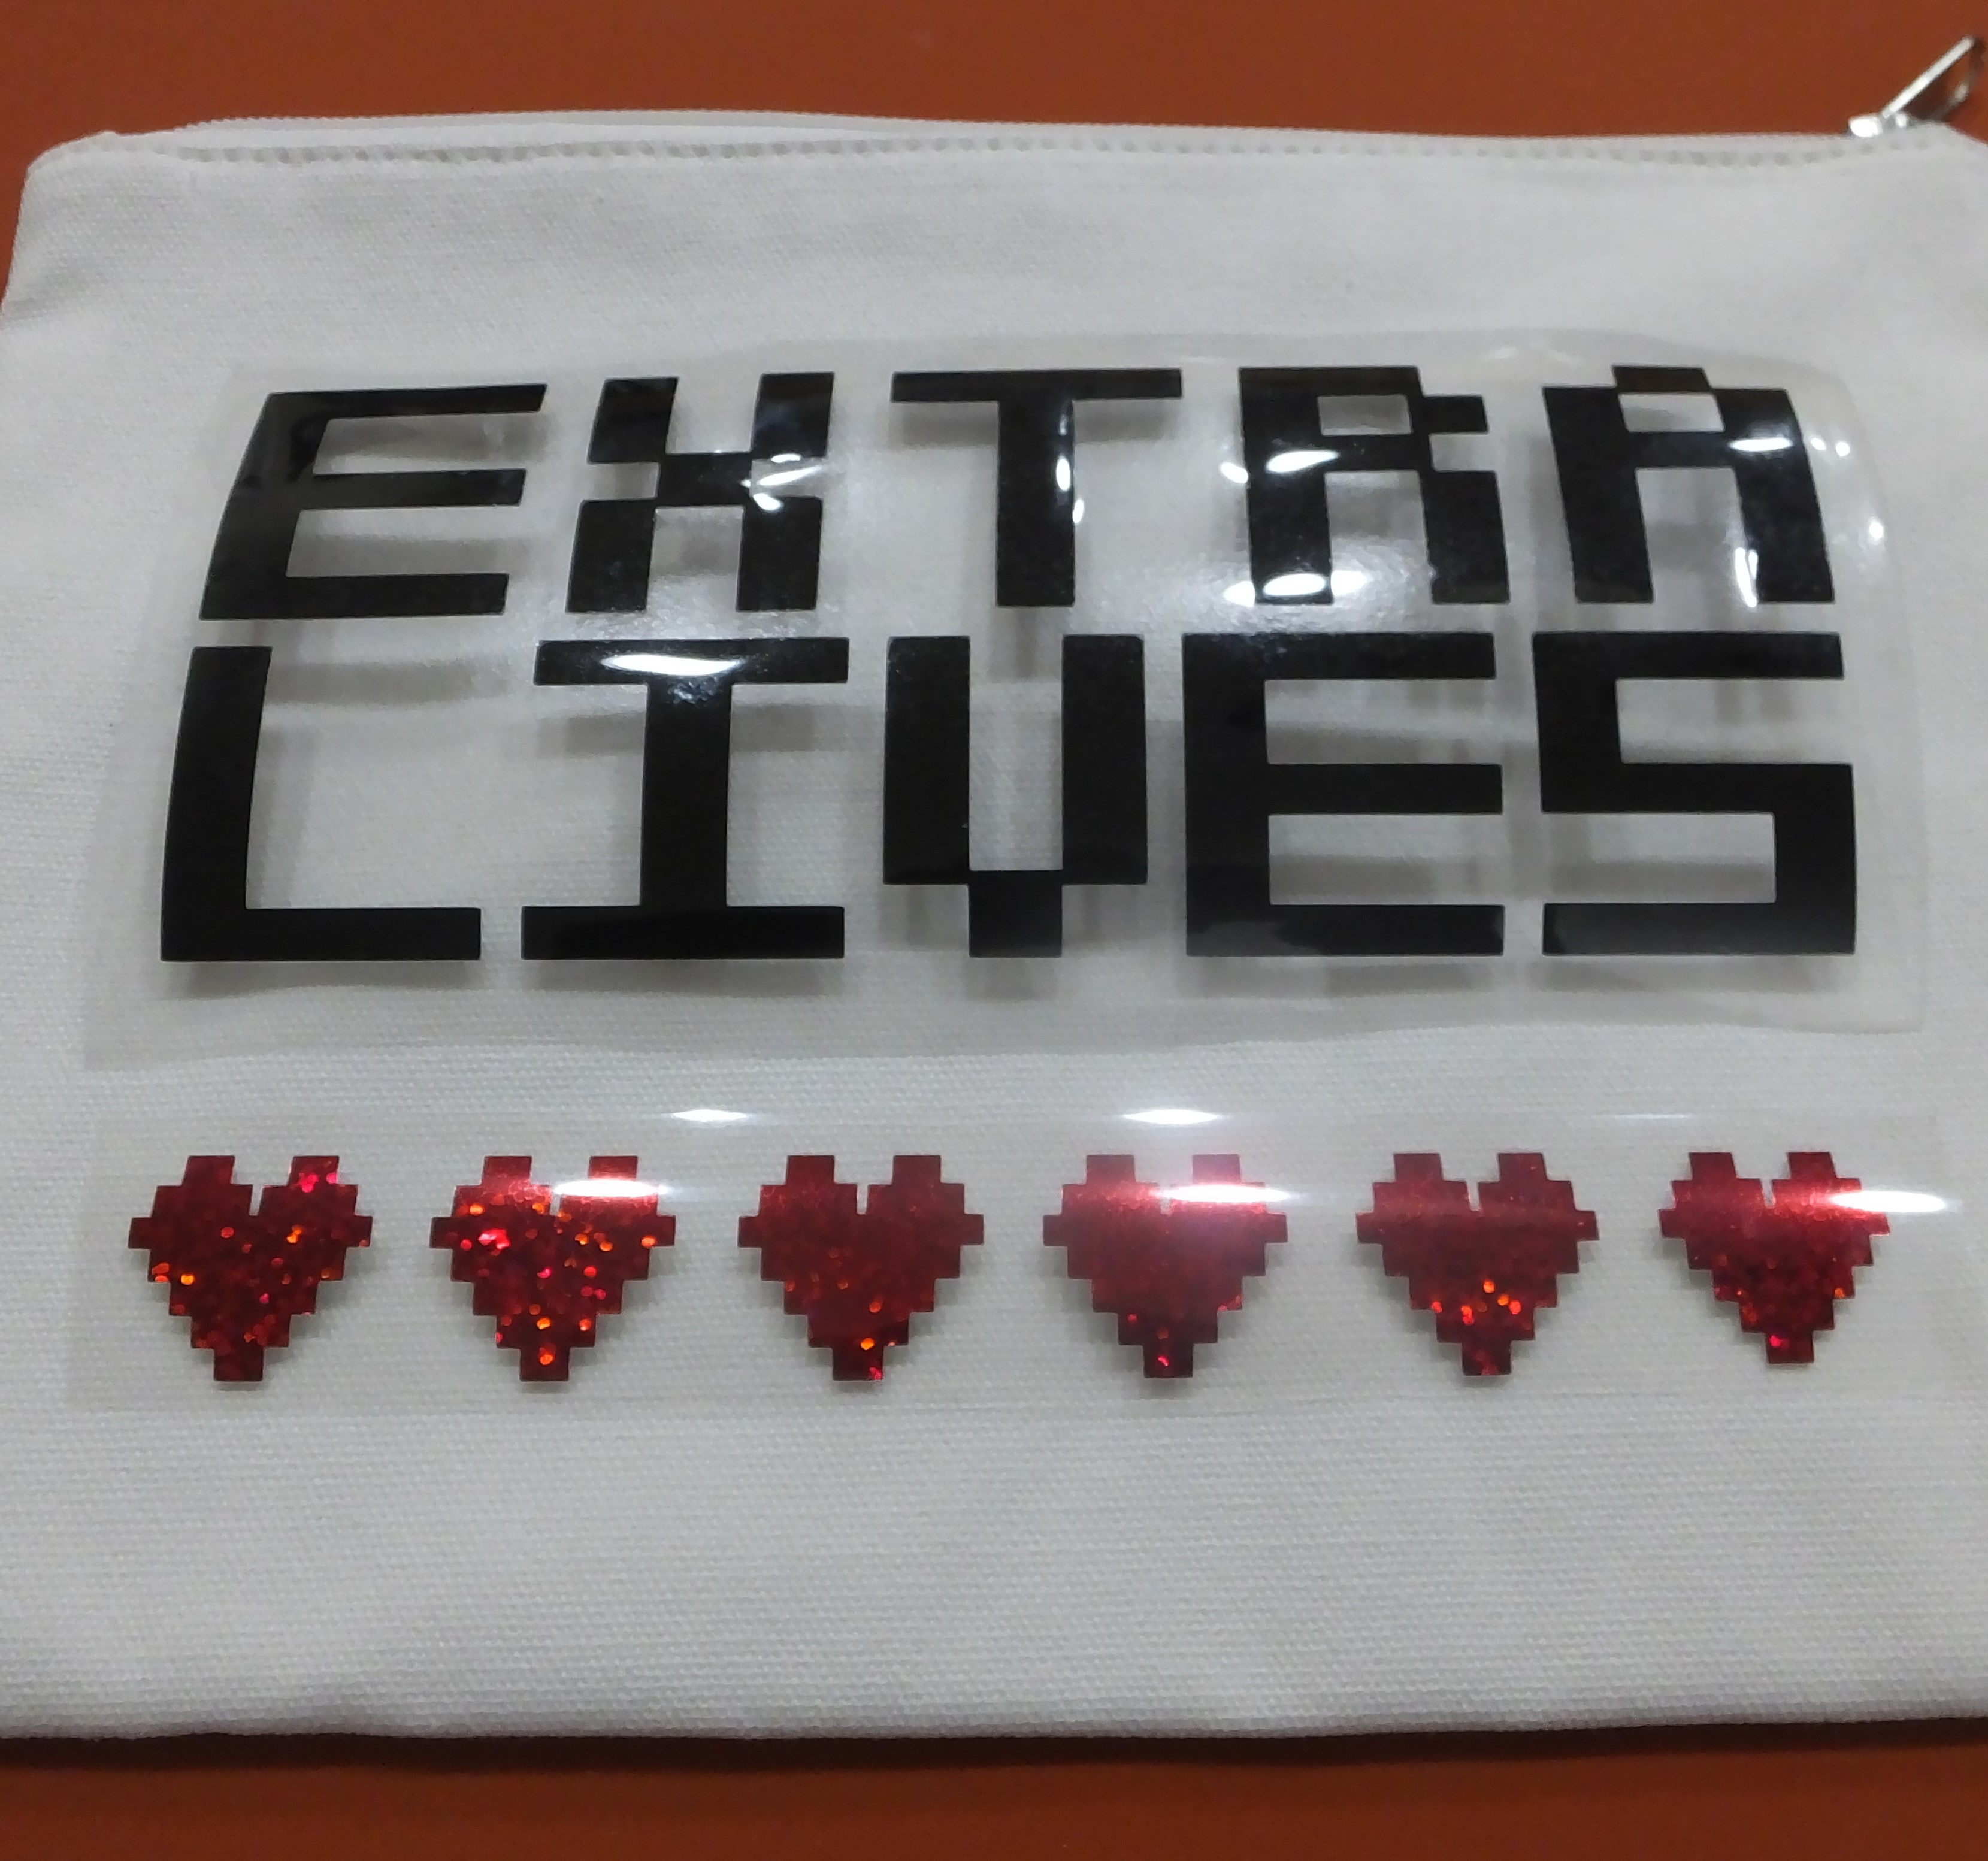
Plug in your EasyPress (or iron) and set the time and temperature according to this handy-dandy chart. My pouch is made of cotton canvas, but find your material in the chart if it is made of a different kind. For this project, there are two types of iron-on. Here are the settings for each:
Iron-on Lite
340°F / 171°C
Pre-heat: 5 sec
Apply: 30 sec
Post-heat back (leave liner on): 15 sec
Warm Peel
Holographic Sparkle Iron-on
285°F / 141°C
Pre-heat: 5 sec
Apply: 20 sec
Post-heat back (leave liner on): 15 sec
Warm Peel
Place your silicone mat or ironing pad down. This will help keep the heat more consistent, especially on surfaces like wood or granite. Warm the canvas pouch by placing the EasyPress on it for a couple of seconds. This will help get out any moisture that could affect your design. It will also help take out wrinkles if present.
Start by placing your iron-on to gauge where you would like it on the pouch. You want to start with the kind that requires the highest temperature to avoid overheating ones that need lower heat, so I did the standard Iron-on Lite first and removed the holographic sparkle hearts.
On the EasyPress, press the C button and apply pressure while it is counting down. When it finishes, flip the pouch over and do the other side. After both sides have been heated, you can peel away the backing.
Adjust your temperature for the holographic sparkle, then repeat the process.
What text would you put on an 8-bit video game pouch? Leave a comment below and don’t forget to pin this for later!

