
This post was written by me and sponsored by Amazon through my participation in the Mom It Forward Network. See my Disclosure Policy for more details.
Video games have been a part of my life since I was a kid in the 1980s. I’ve mentioned before how Mom would make sure we did our homework so she could get a turn herself 🙂 The graphics these days are often absolutely stunning, but I still have a soft spot for the clunky early efforts I remember from childhood.
You can imagine my excitement when I got this opportunity to work with Amazon for their Halloween #Boxtumes (box costume) campaign. I love shopping there; with two bitty kids, it makes life so much nicer when I can order something using Amazon Prime and it arrives a couple of days later instead of having to brave stores and worry about tantrums, etc. It seems like they have just about anything you could ever want!
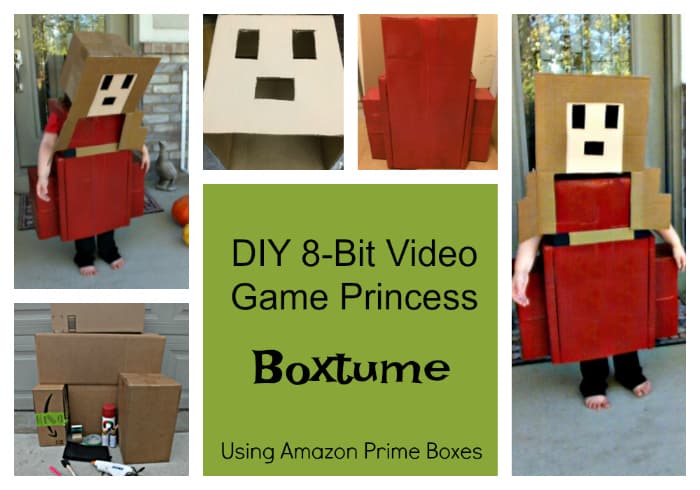
They asked me to make a costume using their Amazon Smile boxes and I knew 8-bit graphics fit the bill perfectly. Today I will show you how to make an 8-bit Video Game Princess Costume!
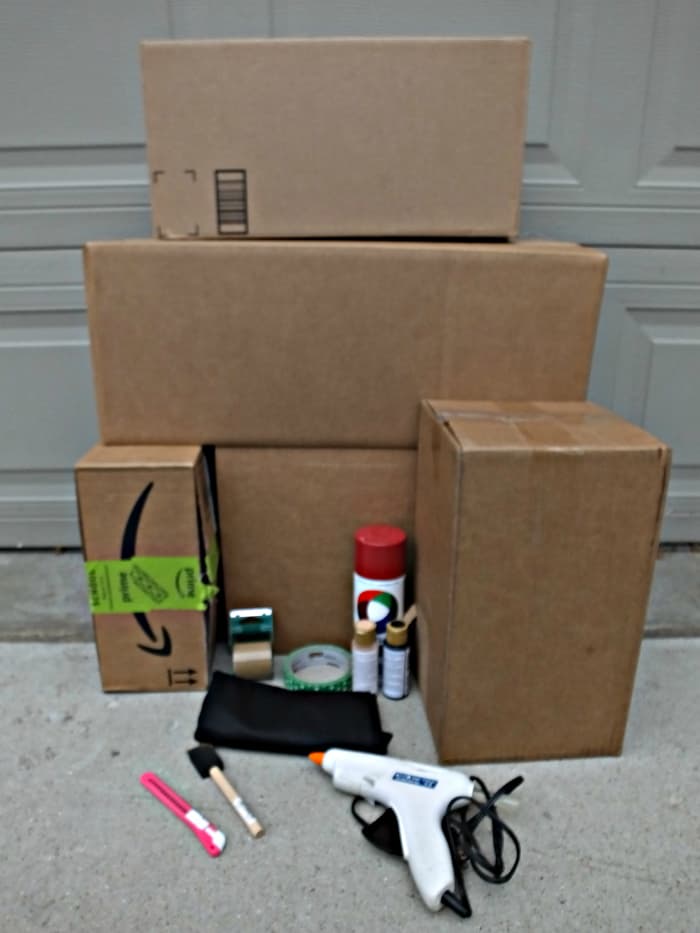
Supplies Needed:
- 4-5 Amazon Smile boxes
- Red spray paint
- Flesh tone acrylic paint
- Black acrylic paint
- Foam brush
- Hot glue gun & glue sticks
- Box cutter
- Packing tape/duct tape
- Black mesh or other fabric you can see through
Note: Choose a long box for the body and one with a square shape for the head.
Making the Body
– Measure body box vertically against the costume wearer to see if it needs to be cut down. Remove the bottom and tape up other flaps as needed to form a solid long box. Since my box’s flaps ran lengthwise, I used tape on the inside seams to strengthen them.
– Add additional boxes on the sides to give it more of a dress shape and 8-bit feel:
- For the first box, use a box that is the same width as the body box. Lengthwise it should be about ⅔ as long as the body and does not need a bottom.
- Leave one long side intact and cut the box so it is about 2” wide. Use the box cutter to score most of the way through the middle of the three sides and fold to form flaps for gluing.
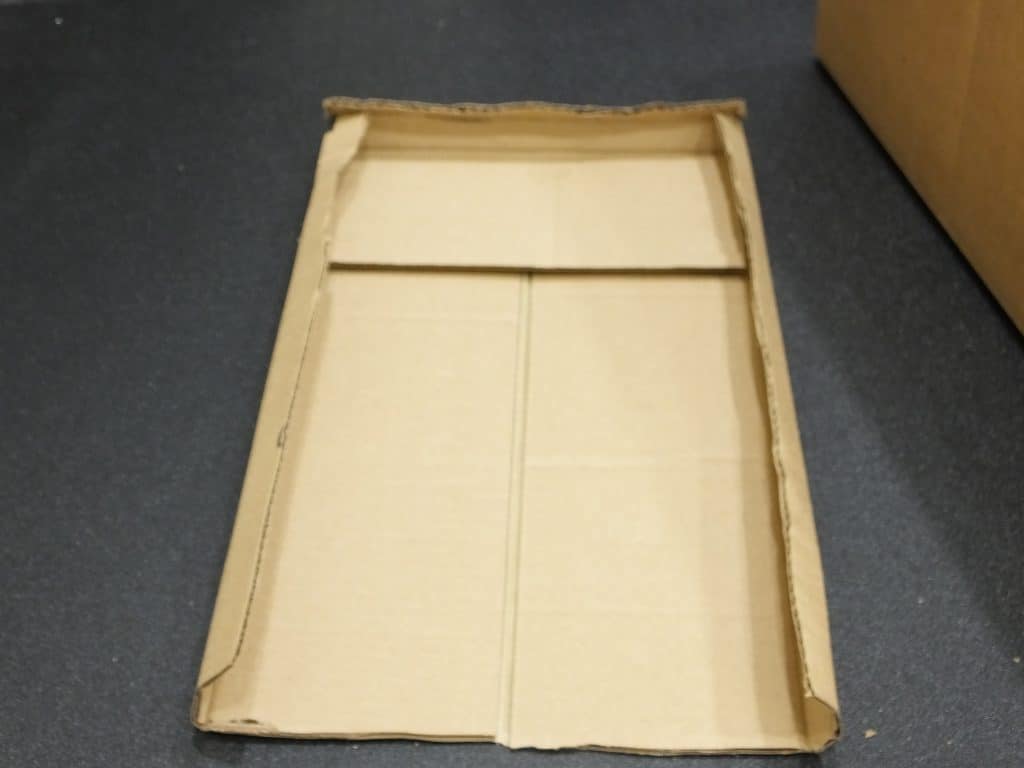
- Line up the boxes so that the bottom ends are even. Spread hot glue on one flap at a time and attach to the body box. BE VERY CAREFUL: The glue lives up to its name and is indeed hot for a bit. Carefully press on both sides of the flap to help attach it, sliding your hand into the narrow box if needed. Repeat on the other side.
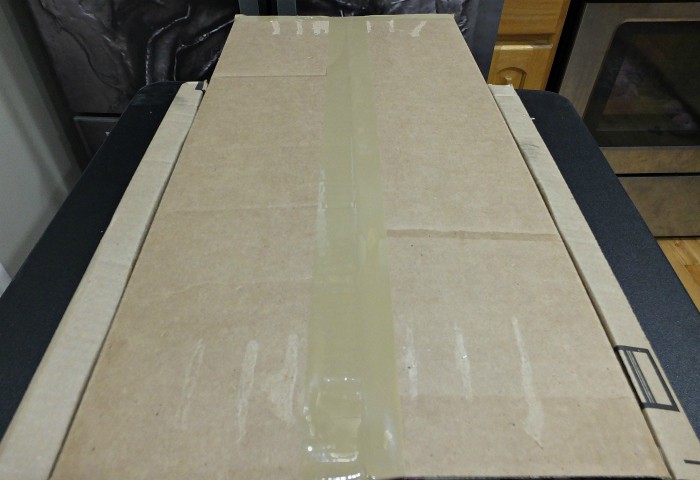
- For the second box, use one that is narrower and shorter than the other two boxes. Create gluing flaps and position it so it is also in line with the bottoms of the other boxes and centered between the sides of the first additional box.
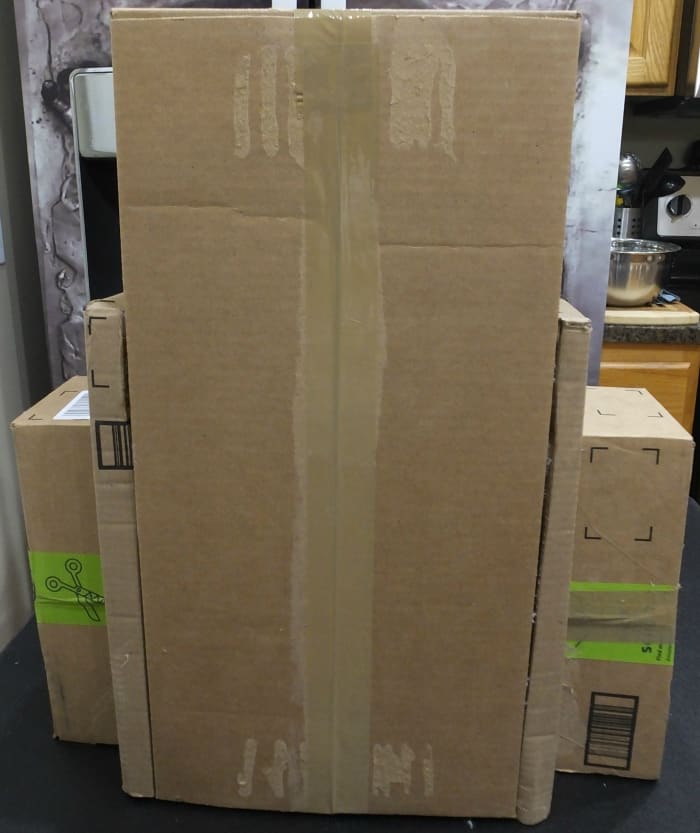
- Cut out holes on the sides and top for arms and head
- Spray paint with red on all sides. It may take more than one coat/can to completely cover it and hide box markings. Let dry.

- Cut out a rectangular piece of cardboard that is as wide as the original body box and a couple inches thick. Paint a black rectangle at each end. This will create a belt/empire waist for the dress. Glue onto the body box right above the top edge of the first side box.
Making the Head
- Measure the box against the costume wearer’s head and cut down the box as needed. Leave the bottom open.
- Draw two vertical rectangles for eyes and a horizontal one for the mouth.
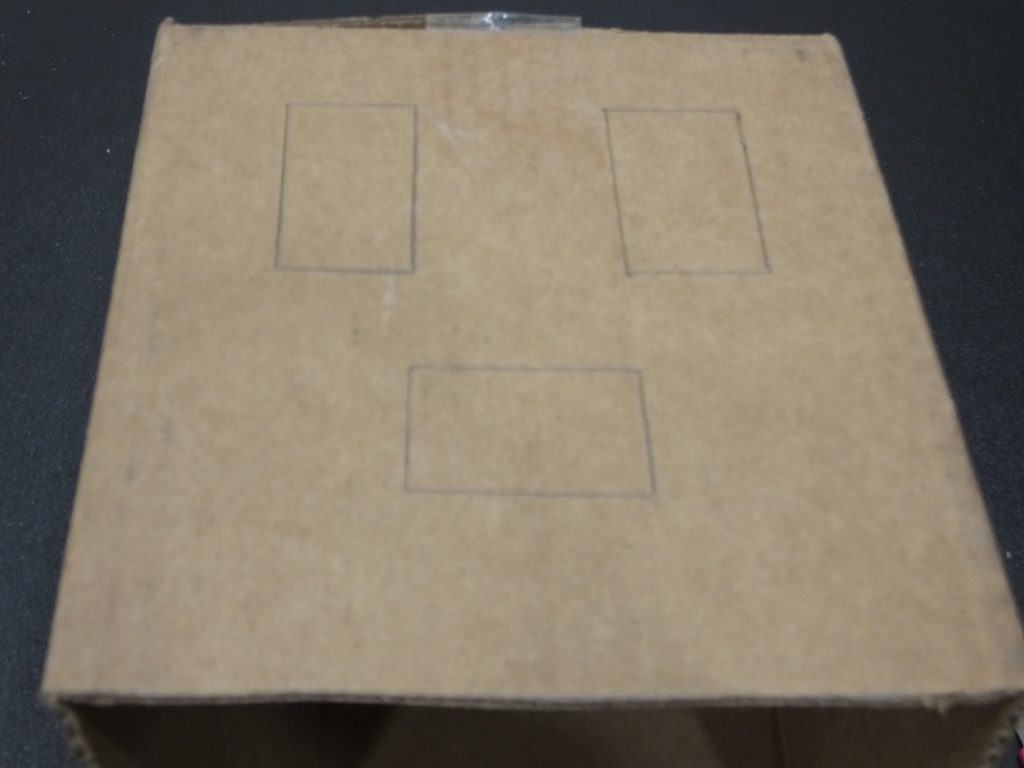
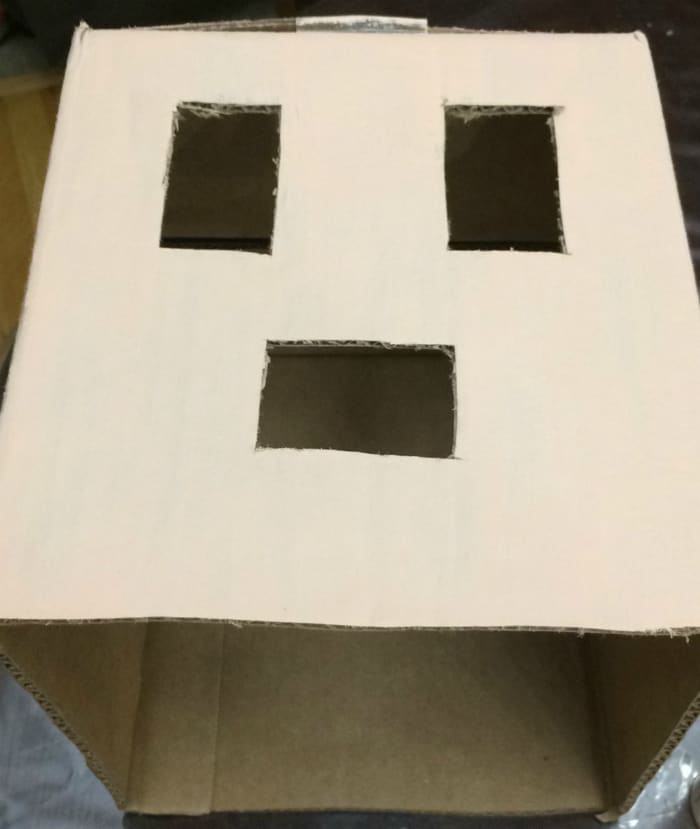
- Cut out the rectangles. Use the flesh tone paint and foam brush to coat the face. You will likely need several coats to be completely covered.
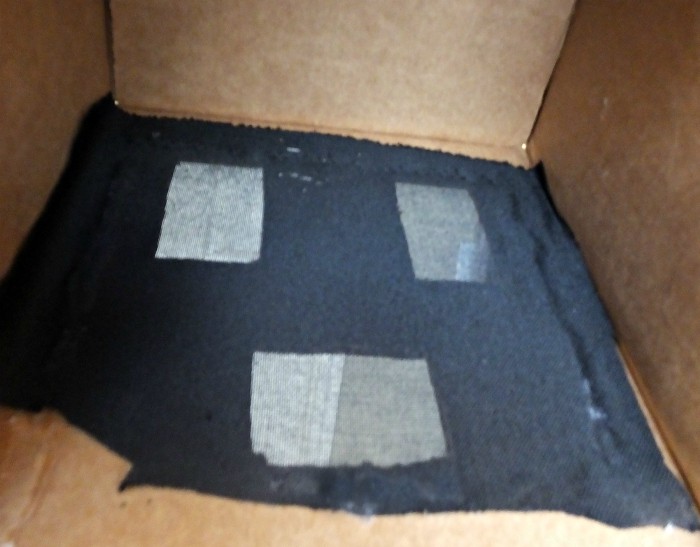
- Cut a piece of black mesh that is big enough to go over both eyes and mouth. This will allow the wearer to see, but preserve the look of the face for the costume.
- Glue the mesh on top of the inside the box, being extra cautious since the fabric is porous and you could accidentally get burnt. You may want to use a knife or other tool to gently rub the edges of the fabric initially to help it adhere.
- Flatten a box that is longer and wider than your head box. Place head on top. Trace around it in a wide band around the outside to make the hair outline, forming boxy layers below the head. For the inner part (that will frame the face at top), trace around the head itself, then go in about an inch so you can have room to glue the hair to the head.
- Cut out the hair and glue to the head, making sure that the eyes are not covered.

Ta-da! Miss ZZ had fun trying on her new costume. I greatly enjoyed turning my little geek princess into an 8-bit version. Thanks so much, Amazon, for sponsoring me in this fun Halloween #Boxtumes project!
What kind of #Boxtumes would you make? Tell me in the comments below!




Love this costume idea!!